|
Step 1 - Read skydio.com/safety before your first flight for detailed safety and regulatory information. |
|
|
Step 2 - Charge the Skydio batteries Skydio Dual Charger is capable of simultaneously providing current to two batteries. However, it will prioritize fully charging the battery with the highest charge level. Allow approximately two hours to fully charge batteries.
|
 |
|
Step 3 - Charge your Skydio Enterprise Controller Connect your Skydio Enterprise Controller to the USB-C charging cable and 65 W adapter. The lights on the front of the controller will begin to flash blue when the unit is charging, as well as a single light next to the USB-C charging port.
|
 |
 |
|
|
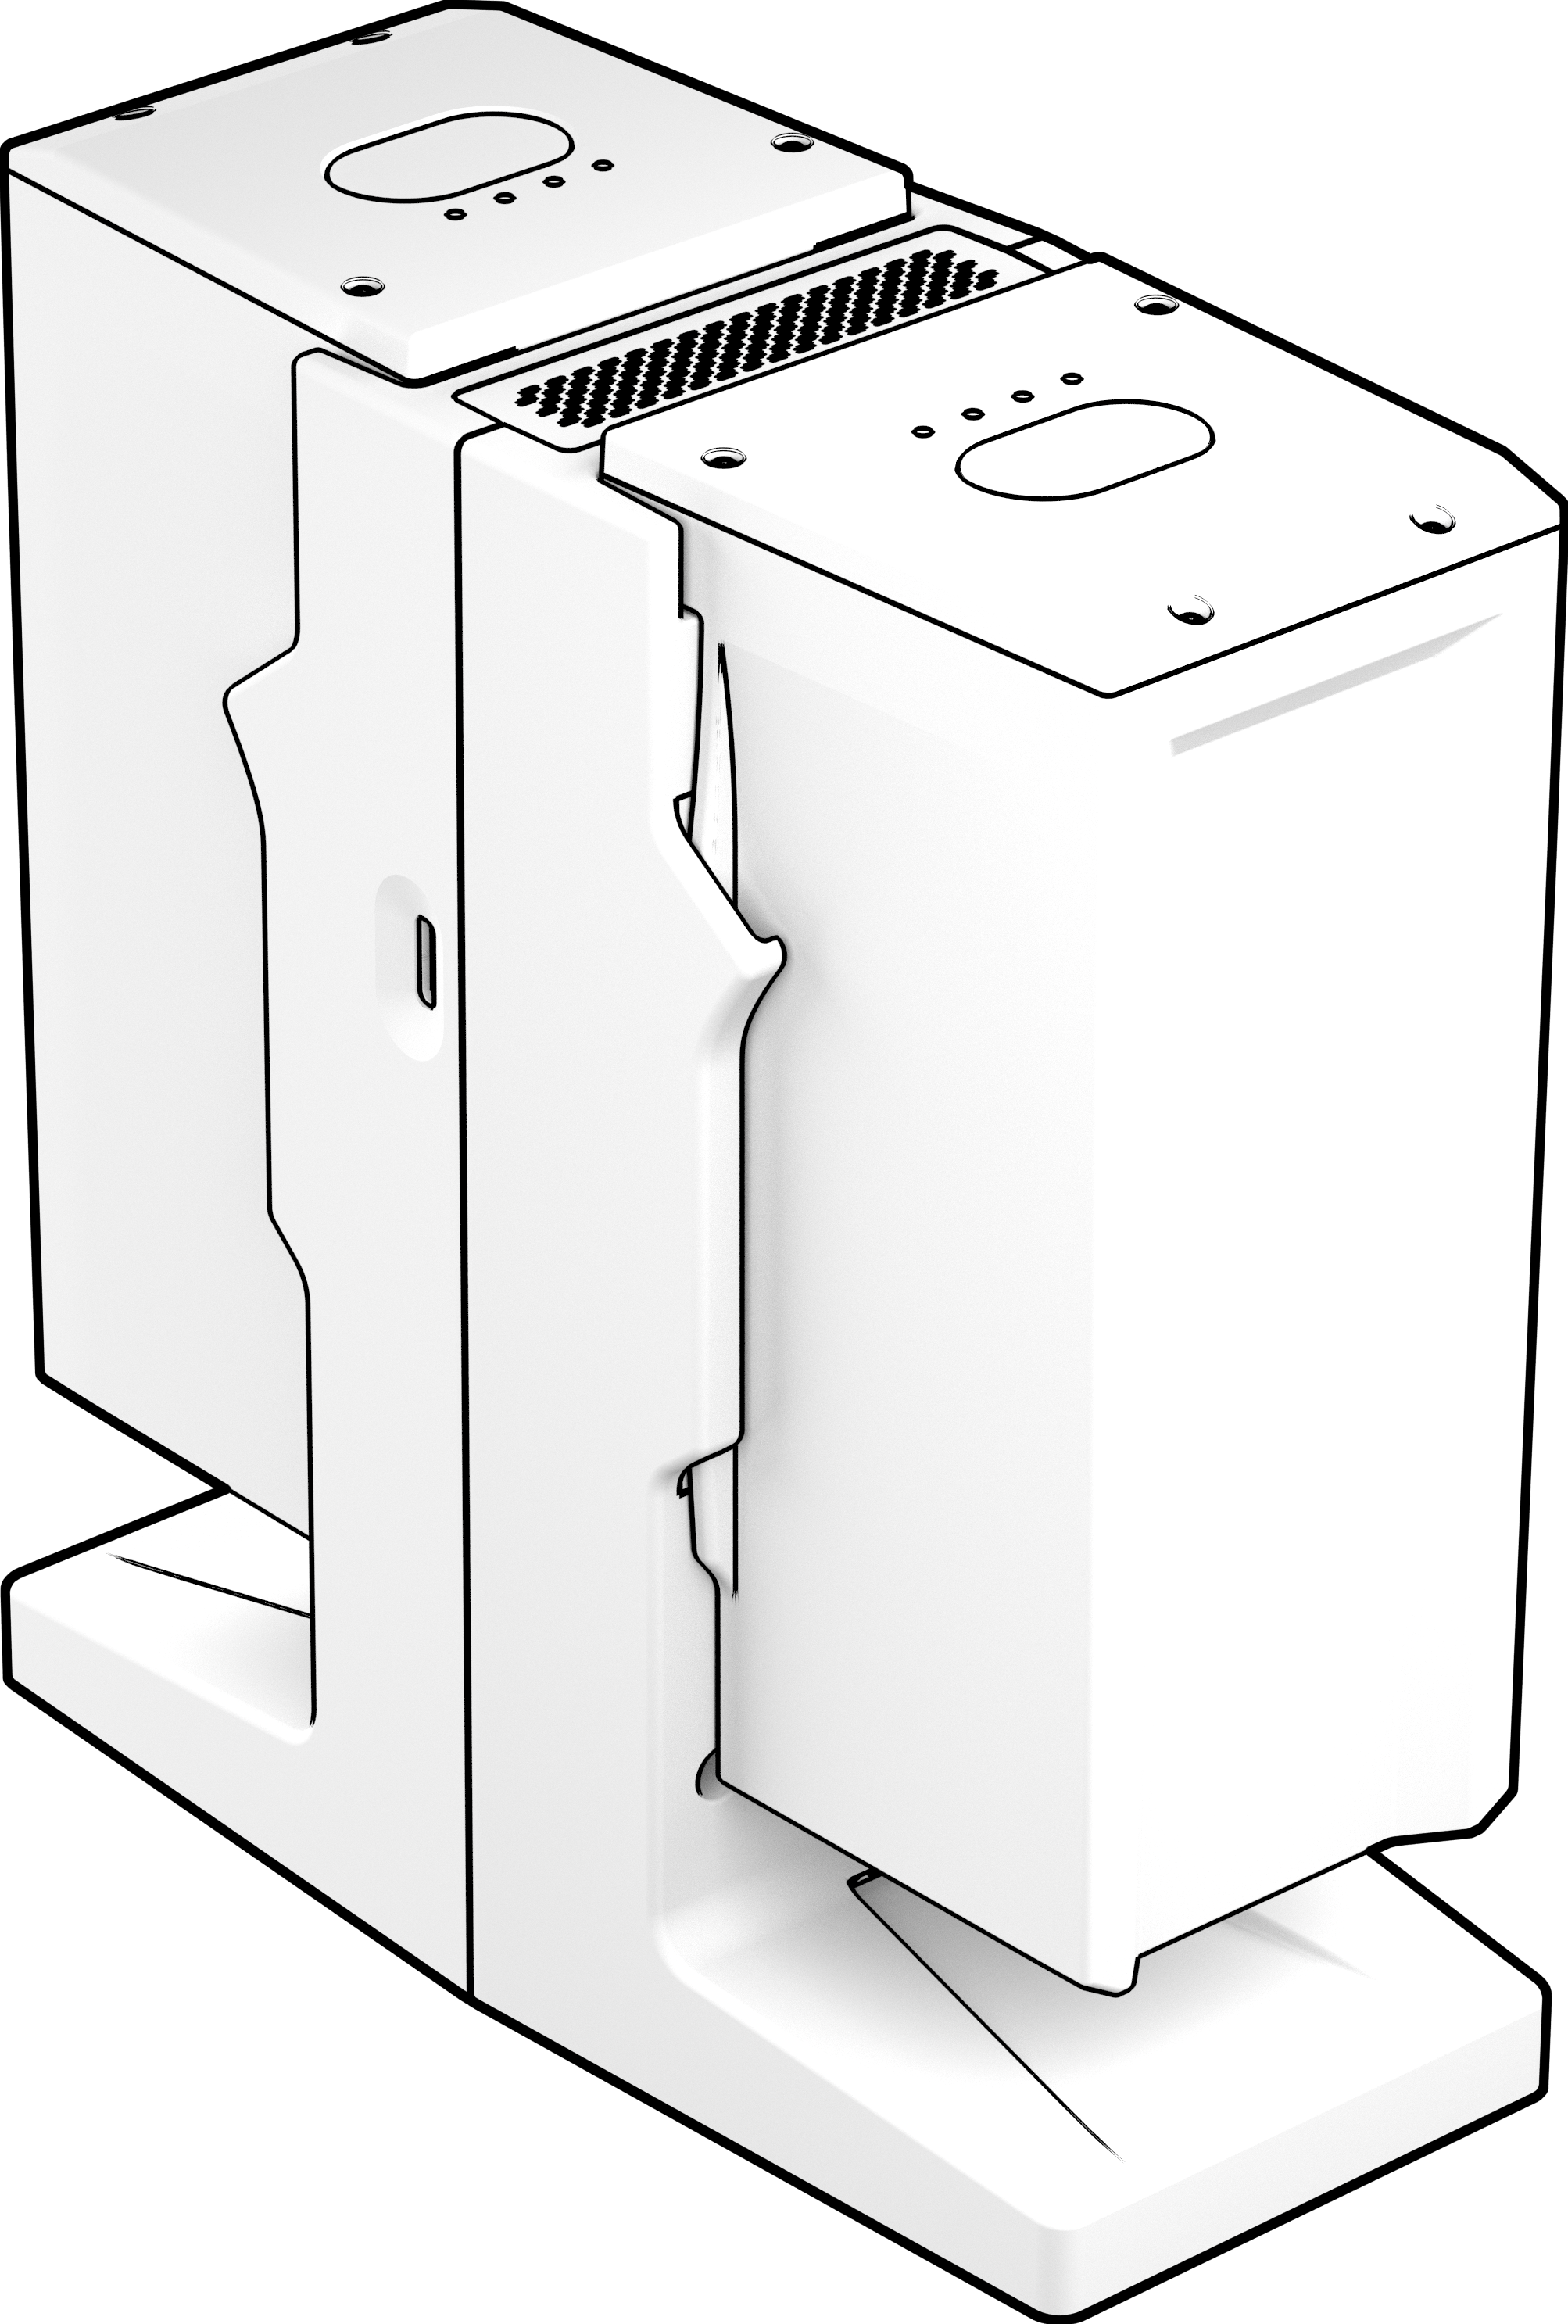
Step 5 - Deploy the Skydio X2 |
 |
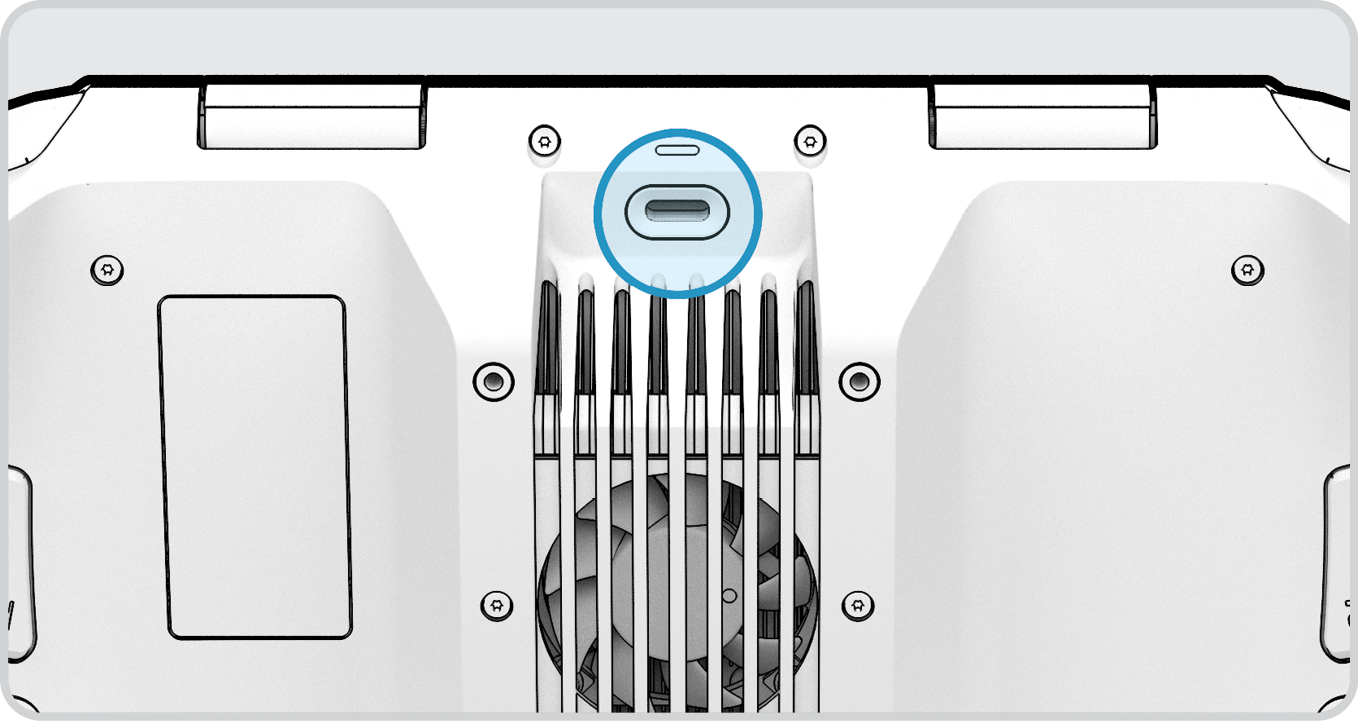
| Step 6 - Verify microSD memory cards are installed
|
 |
| Step 7 - Insert battery | 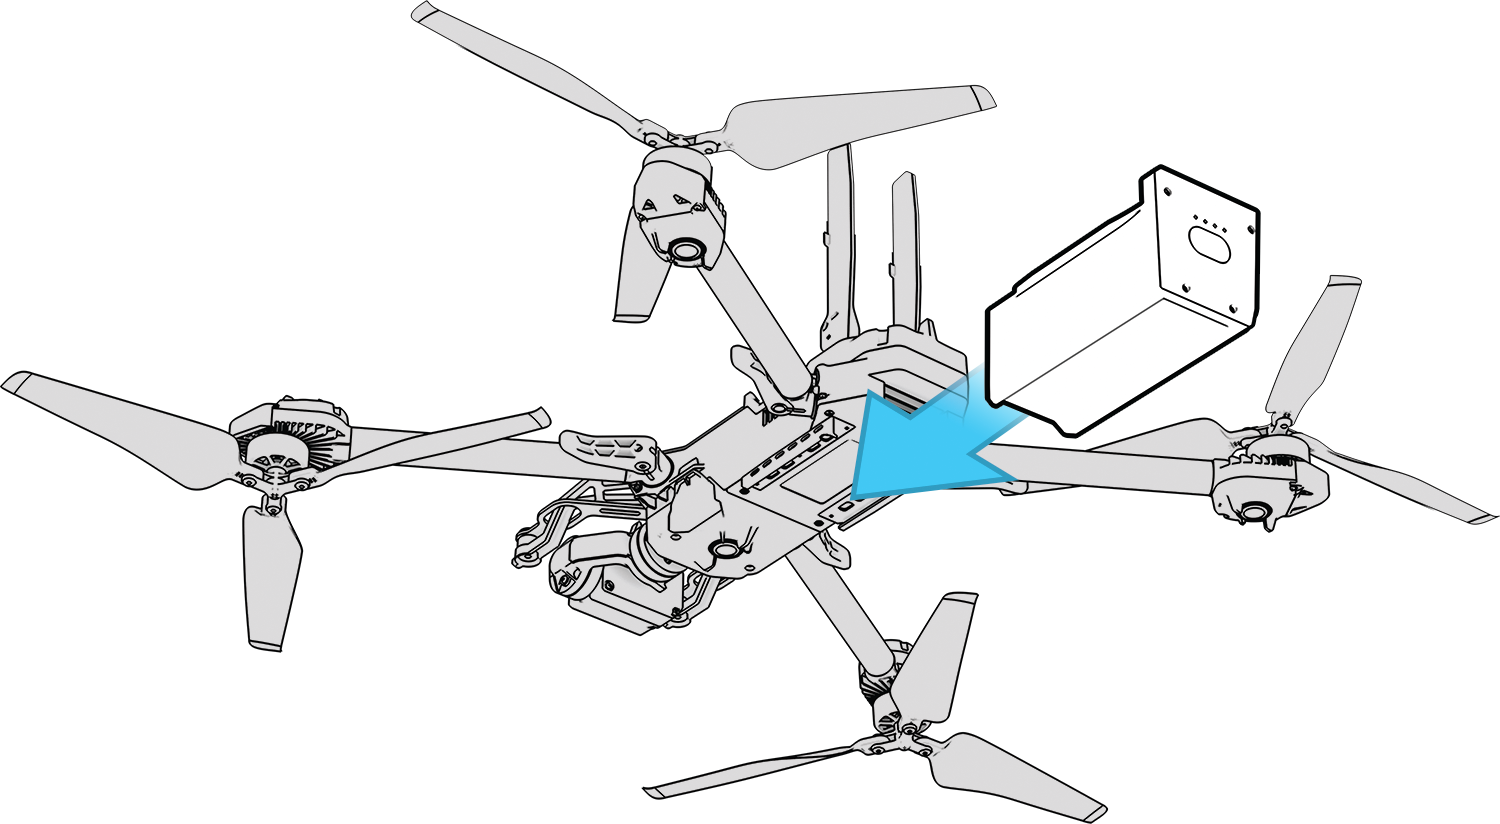 |
|
Step 8 - Power on Skydio X2 and the Enterprise Controller |
|
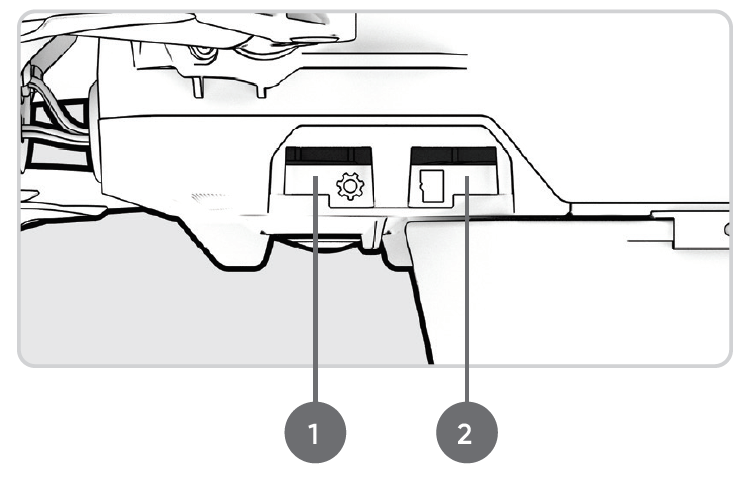
| Step 9 - Pair the devices | 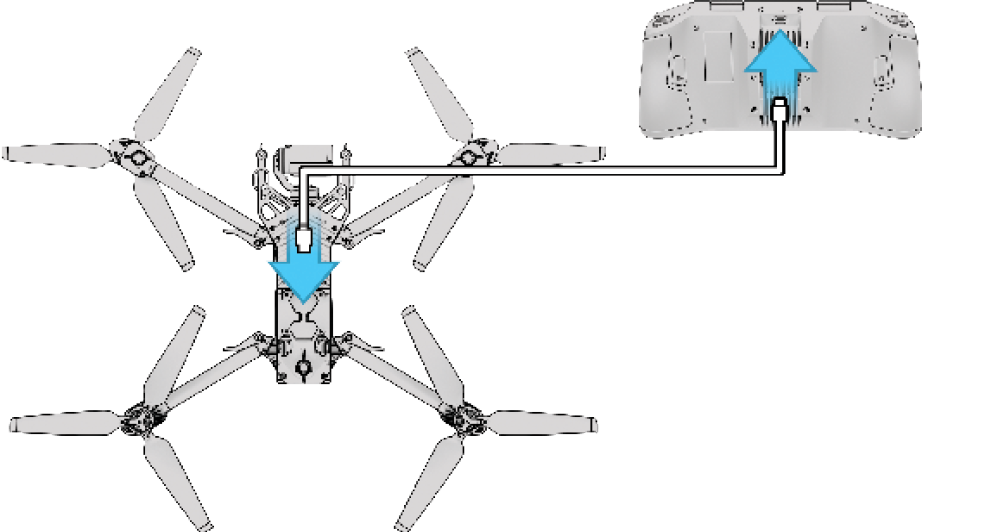 |
| [info]Read the complete Skydio X2E Operator Manual or Skydio X2D Operator Manual for more detailed information.[/info] | |
|
Step 10 - perform a pre-flight inspection:
|
|
Getting started with your Skydio X2
Published: Updated:
Was this article helpful?