How to replace propellers on your Skydio X2E
Published: Updated:
The Skydio X2E Propeller Kit is an additional add-on available for purchase. The kit includes everything you will need to replace your propellers. For more information, please contact Skydio Sales.
|
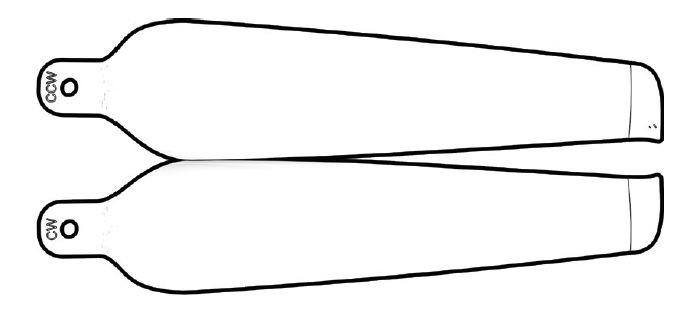
Clockwise (CW) propellers (6) Counter-clockwise (CCW) propellers (6) Propeller screws (12) |
 |
 |
[warning text="Propeller blades are sharp. Handle with care. Always ensure X2E is turned off before replacing the propellers to avoid injury. Do NOT attempt to replace your propellers while it is powered on. Doing so is an extreme safety risk and may lead to serious bodily harm or injury."]
Inspect Propellers
A routine preflight inspection should include the propellers to ensure they are in good working condition. For optimal performance, Skydio recommends replacing your propellers after 100 hours of flight time or whenever you notice any damage. Replace all propellers in the hub, even if only one is damaged, to reduce any potential variations and to make it easier to track propeller flight time.
| Good Condition | Acceptable | Do Not Fly |
| |
|
[warning text="Propellers with hairline cracks or large breaks, chops, or bends should be replaced immediately. Do NOT fly the X2E with propellers that are not in good condition as serious bodily harm or injury may occur."]
Replace Propellers
To remove X2E propellers:
|
Step 1 - Power off your X2E |
|
|
Step 2 - Identify the hub with the damaged propeller |
|
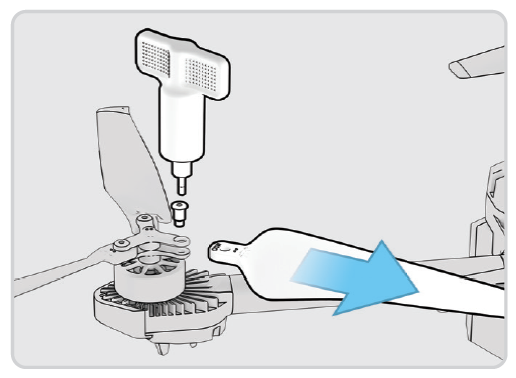
| Step 3 - Grip the motor on the propeller hub to stabilize | 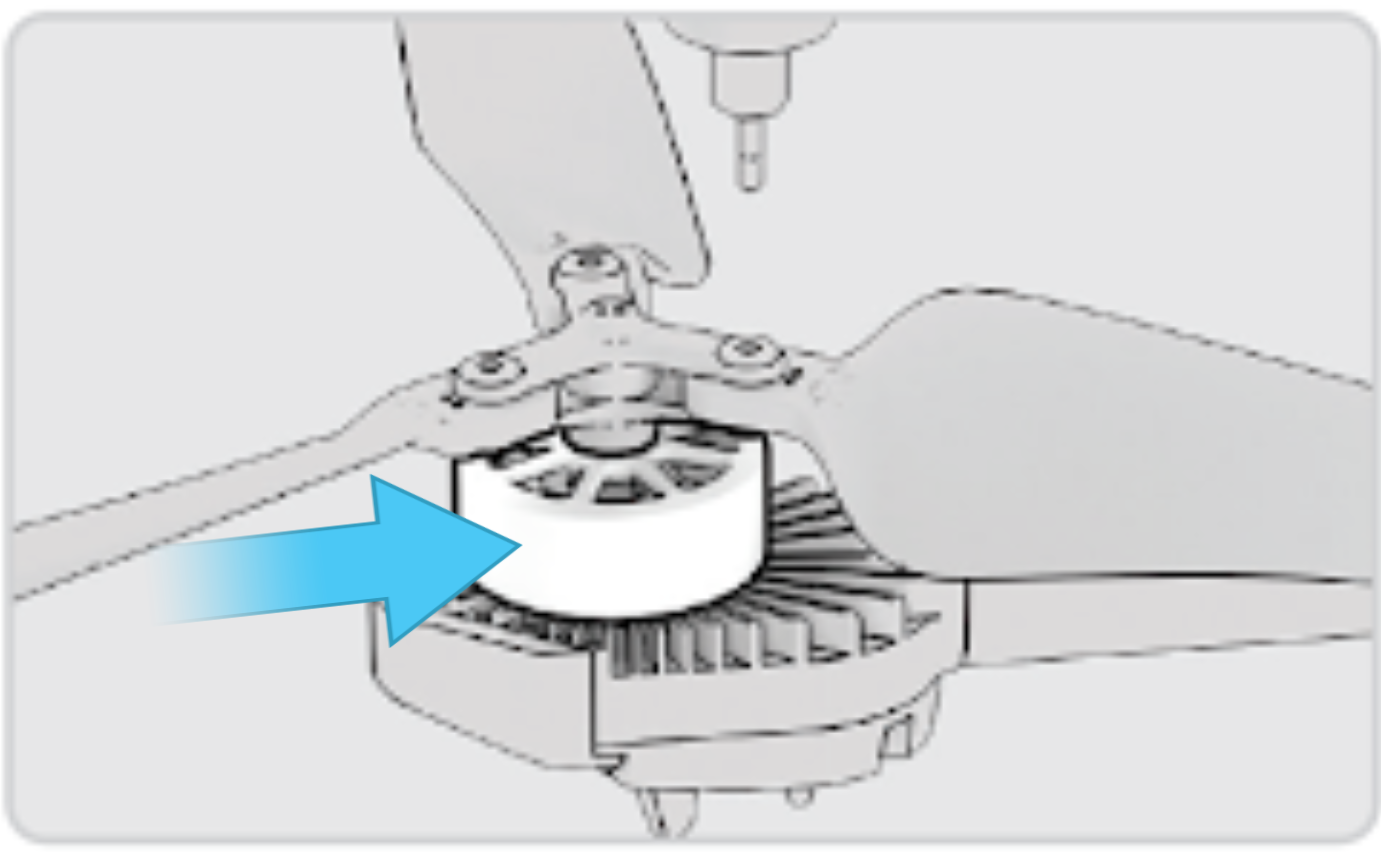 |
Step 4 - Unscrew the propeller pin
|
 |
Step 5 - Slide the propeller out of the propeller hub
|
 |
[info text="Propellers are matched to maximize performance and robustness. All three replacement propellers must come from the same kit."]
To attach the new propellers:
|
Step 1 - Identify the correct replacement propellers that match the propeller hub |
|
[caution text="Incorrect propeller installation (i.e. failure to match the markings on the propeller to those on the propeller hub) is a safety hazard and may result in potentially serious damage to the aircraft and serious bodily harm or injury to you and bystanders."]
|
Step 2 - Slide the new propeller into the hub Step 3 - Insert a new screw from your replacement kit
|
 |
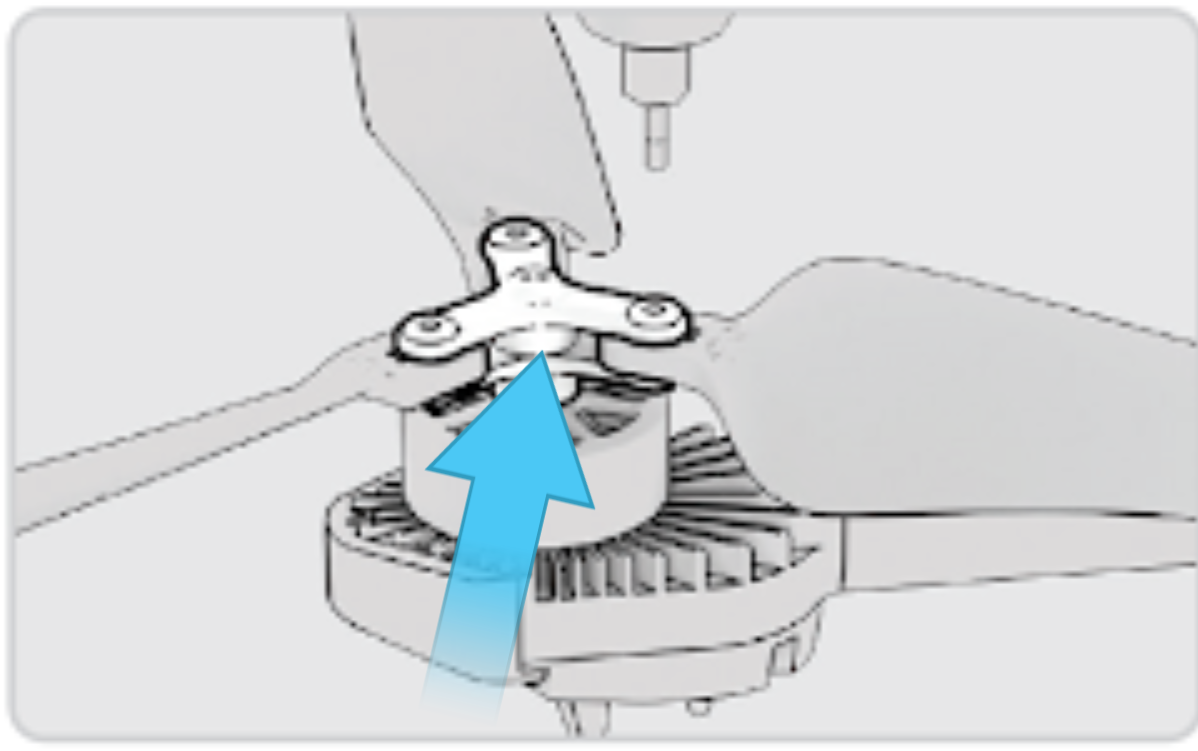
| Step 4 - Hold onto the motor or the propeller hub to stabilize | |
Step 5 - Fasten the screw turning the torque driver clockwise
|
|
|
Step 6 - Repeat with remaining propellers |
Inspect your installation:
|
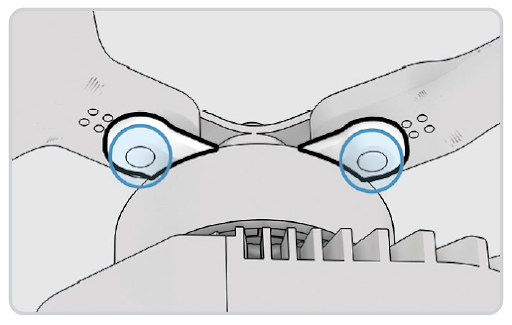
Check - Propeller screw threads extend slightly beyond the bottom of the propeller hub |
 |
|
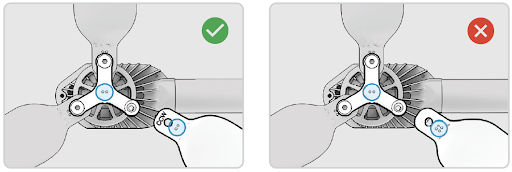
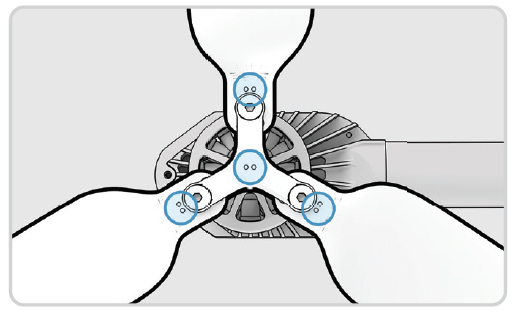
Check - Dot patterns match between propeller blades and hub |
 |
Check - Rotation on the propellers matches the hub
|
|
| Check - Propeller should have a full range of motion with minimal friction and do not bind with the hub spokes | |
Skydio, Inc. A0021
Was this article helpful?